Shed roof repairs are a necessary evil, as even the best roofs don’t last forever. Every competent DIYer should be up for the challenge, but before you roll up your sleeves, read our handy little guide on how to fix a shed roof.
Rain, wind, tree branches and stray footballs can all put a shed roof through its paces. As long as the roof isn’t completely damaged, you don’t necessarily need to replace the whole roof. Here are some of the most common reasons a shed roof needs some TLC.
Sagging
If your shed has a wooden roof, it’s prone to sagging. This is a particular issue for plywood and OSB shed roofs. These materials tend to be lower quality and can sometimes even start to rot in less than a year. A sagging roof shows there’s a weakness in the roof structure. This usually requires either a new roof or a new shed altogether. Opt for a tongue and groove cladding, which is sturdier and not as likely to sag and dip.
Exposed timber
Exposed timber is a red flag for causing leaks and structural issues. This includes dipping and sagging. Moisture and air can get inside the shed, allowing for damp and mould growth, damaging it further.
Leaks
Leaks are the most typical issue when it comes to shed roof repairs. Don’t ignore them, as tempting as it might be to put off the job. Small leaks can turn into big ones and allow for moisture to penetrate and mould to grow. Mould is irritating to your eyes, throat, nose, lungs and skin and shouldn’t be breathed in. It also won’t do your tools and equipment any favour and can cause machinery to rust. Even if your shed roof is super solid, leaks will still shorten the life expectancy of your shed. Untreated moisture rots wood. Leaks usually occur due to a sagging roof, broken roofing felt or cracked and missing shingles.
How to repair your shed roof
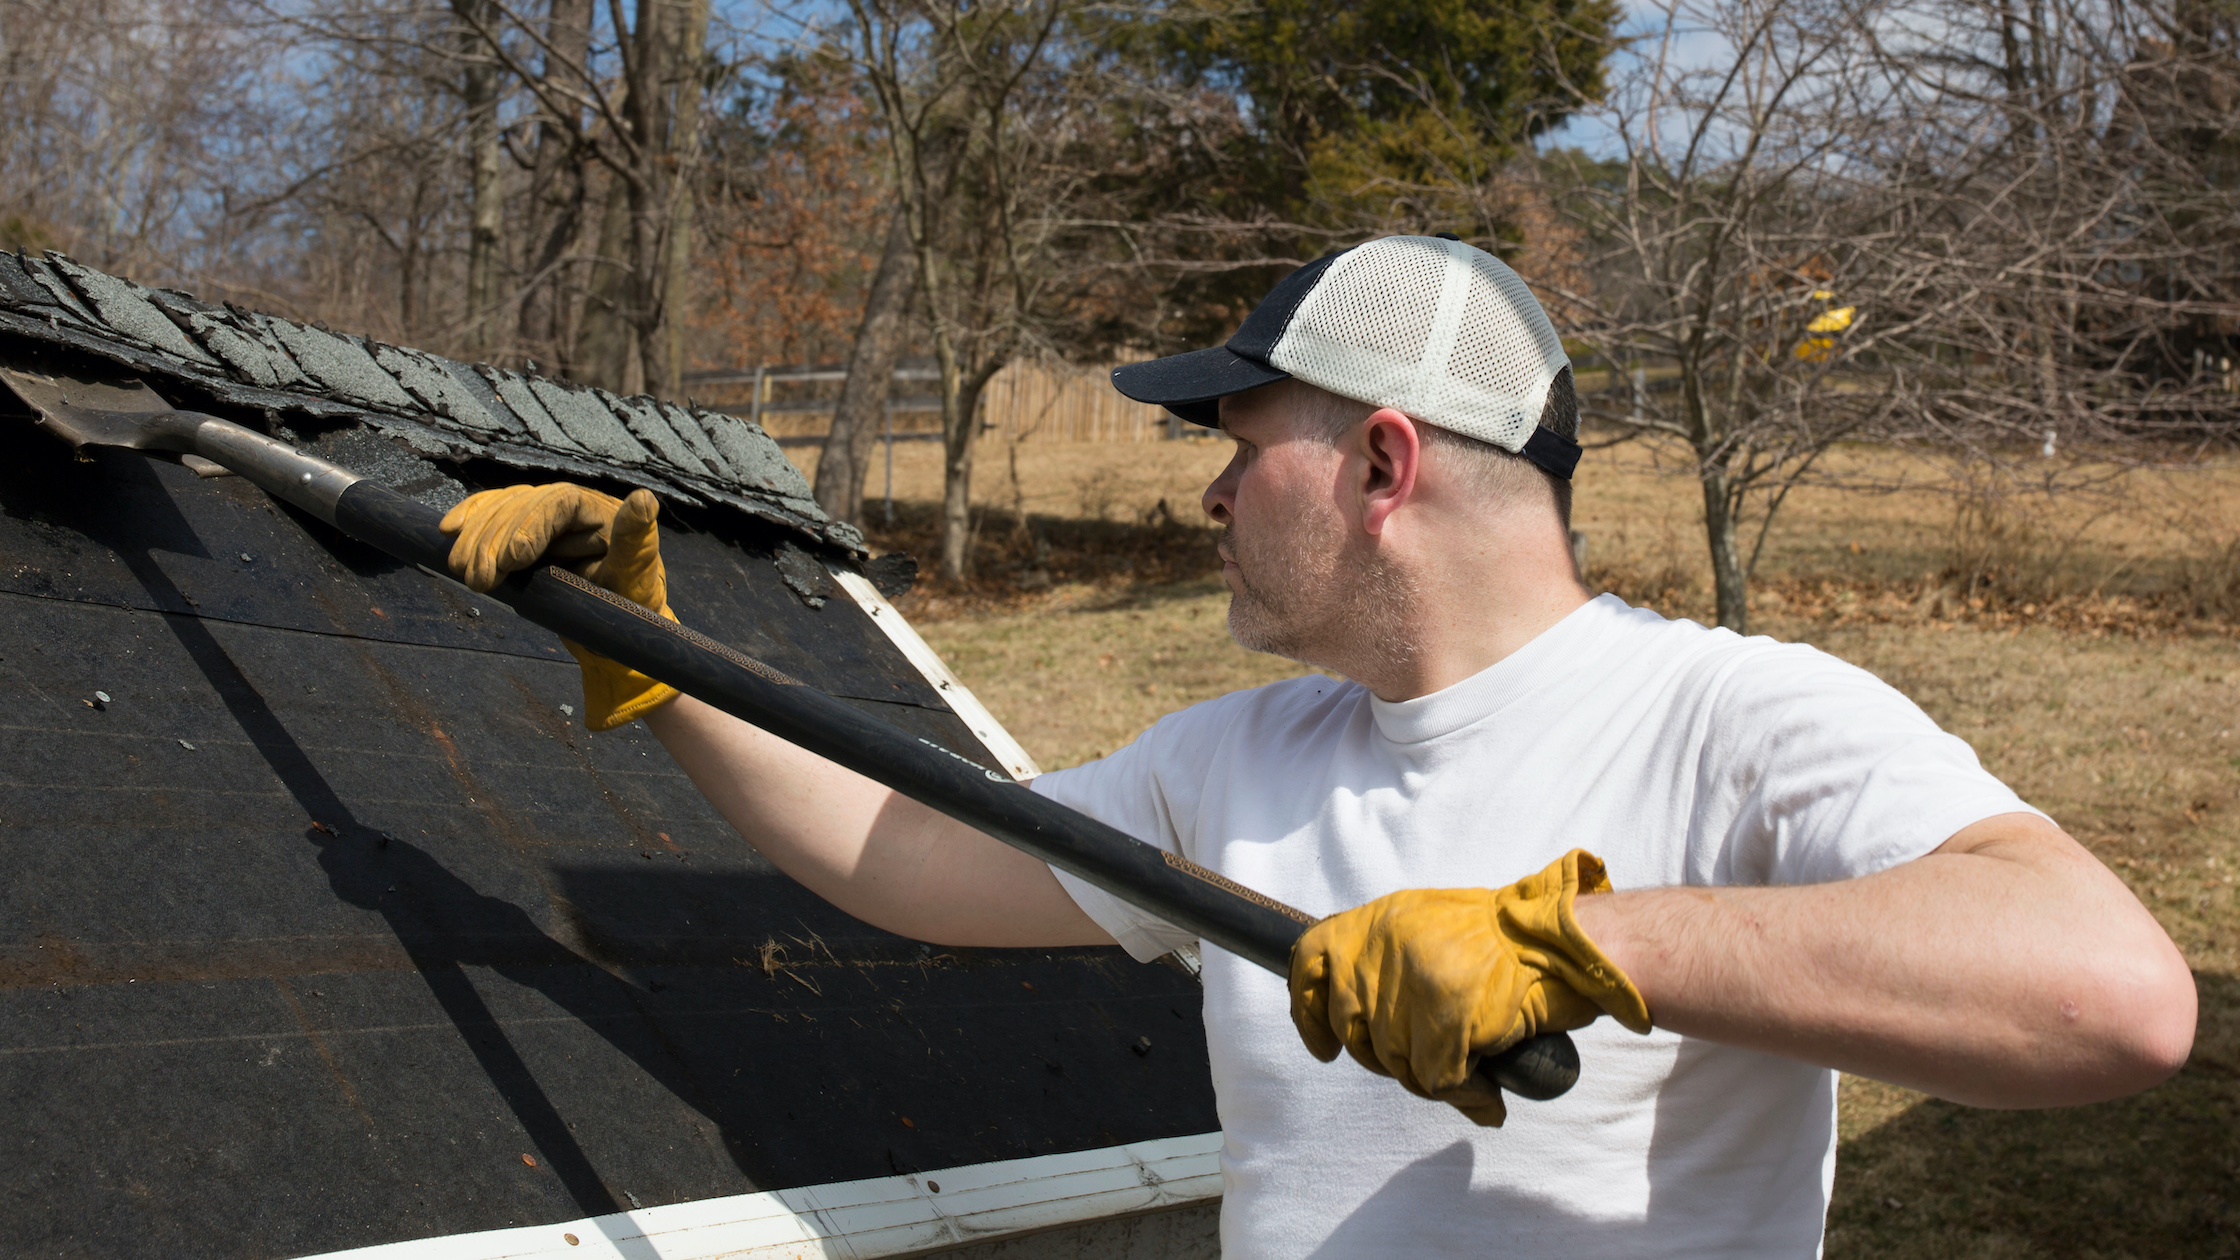
Repairing damaged roof felt is pretty straightforward. If you decide to tackle the repairs yourself, there are a few things you need to keep in mind. First, make sure that you have all of the necessary tools and materials. Second, be sure to follow all instructions carefully. And third, take your time – rushing through the repairs could result in further damage. Here are the 5 steps to follow:
- Remove the finials and fascia boards. Use a hammer or a screwdriver to remove nails or screws. Make sure you keep the boards safe as you’ll need to put them back later.
- Untack and remove the damaged felt. Pry the nails off using a flat-header screwdriver while taking care not to rip the felt further.
- Measure your shed roof and cut the new felt to size. Allow for a two inch overlap on all sides.
- Smooth out and nail down the new felt. Place nails at six inch intervals.
- Reattach the finials and fascia boards. If you have replaced them, make sure you treat any new timber.
Once you have made the necessary repairs, it is important to maintain your shed roof on a regular basis. This means checking for leaks regularly and making sure that the gutters are clear of debris. By following these simple tips, you can keep your shed roof in good condition for years to come.
LC Joinery and Roofing are experienced in shed roof repairs in Edinburgh and Central Scotland. All our work is guaranteed. We are a member of the Guild of Master Craftsmen, the Federation of Master Builders, the Construction Skills Certificate Scheme, and a Which? Trusted Trader and a licensed asbestos removal contractor. Take a look at our portfolio here.
Call LC Joinery at 01592 747 047 or email us at info@lcjoineryroofing.co.uk.


